Creating a self-signed certificate
To generate a self-signed SSL certificate, download the OpenSSL installer for Windows from here (please download the first installer from the list: Win64 OpenSSL v3.3.2 Light, and the format is .exe): https://slproweb.com/products/Win32OpenSSL.html
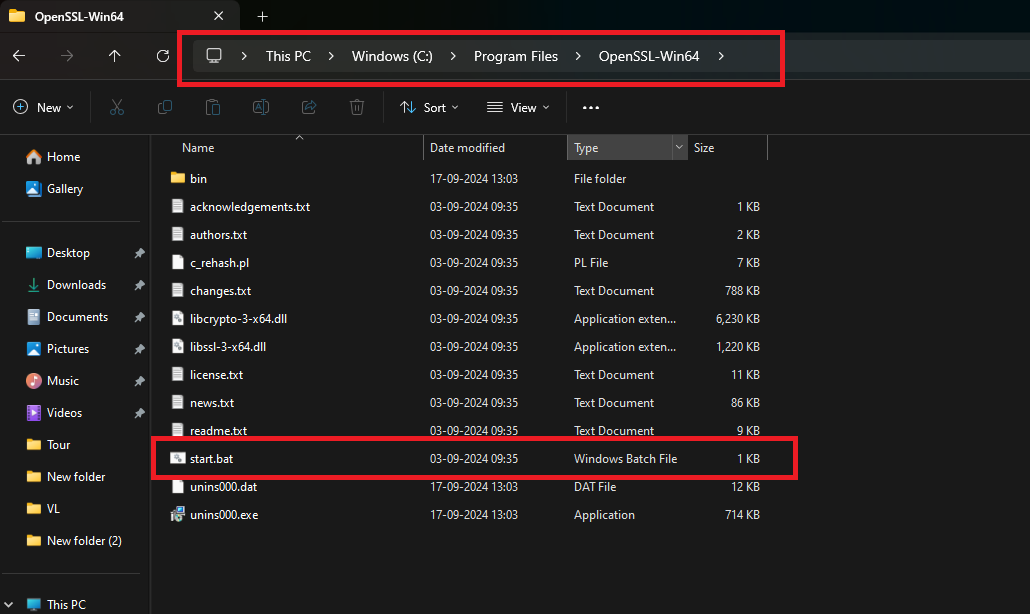
After installing OpenSSL, navigate to the folder where it is installed. Go to Local Disk C:\Program Files\OpenSSL-Win64 and open the Start.bat file and it will open a command prompt.
- Generate a Private Key: Use a command like the following in a terminal to generate a private key: openssl genrsa -out private.key 2048
- Create a Certificate Signing Request (CSR): Use the private key to generate a CSR: openssl req -new -key private.key -out request.csr
- You will be prompted to enter information about your organization and domain.
- Generate the Self-Signed Certificate: Use the CSR and private key to create a self-signed certificate: openssl x509 -req -days 365 -in request.csr -signkey private.key -out certificate.crt

Info
Note: By this step, you can download a self-signed SSL certificate with a validity of 365 days (1 year). We suggest generating a self-signed SSL certificate for 10 years. To do this, edit the last command and replace 365 days with 3650 days in the following command: openssl x509 -req -days 3650 -in request.csr -signkey private.key -out certificate.crt
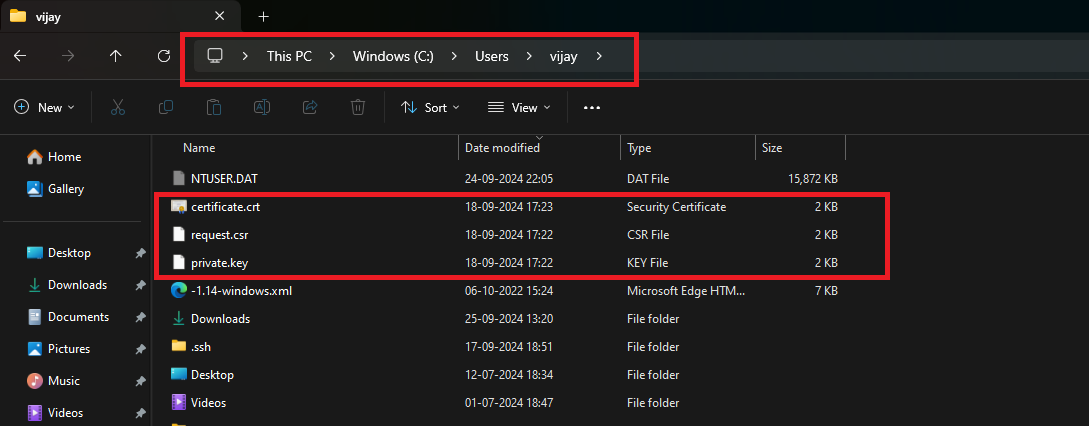
Usually, the generated files will be stored in C:\Users\YourPCName.