Adding a contact form on your website
Overview
- Contact form vs Inquiry form
- Adding Custom SMTP details to your VL Back Office
- Enabling Contact Form on the desired page
- Configuring captcha for the contact us form
- Verifying the contact form submission
Contact form vs Inquiry form
There are two types of forms a customer can use to reach out to your business - Inquiry form and Contact Form - which are explained below:
-
The Contact Form is a general form (usually set on the contact us page but you n set it on any page you desire) used to take the general queries of the customers on a broader scale and not exclusively about one trip only. This form helps the customers to get in touch with you. The steps of configuring this form is explained below in this article.
-
The Pop up Inquiry Form is present of the Tour Details page and the customer can use it to send you inquiries/questions that they have regarding to that particular tour.
Tip
Please CLICK HERE to read about the Inquiry Form and the steps associated with enabling it further in detail.
Configuring a Custom SMTP in your Vacation Labs Account
Before you are able to enable the Contact form you will need to add your Custom SMTP Details in the Vacation Labs Back office or else the system won’t allow enabling the form
Tip
Please CLICK HERE for detailed support article on how to get the SMTP details from your mail servce provider
Tip
Please CLICK HERE to know to add the SMTP details in Vacation Labs
Enabling/Adding Contact Us form on desired page
-
Login to your Vacation Labs Account
-
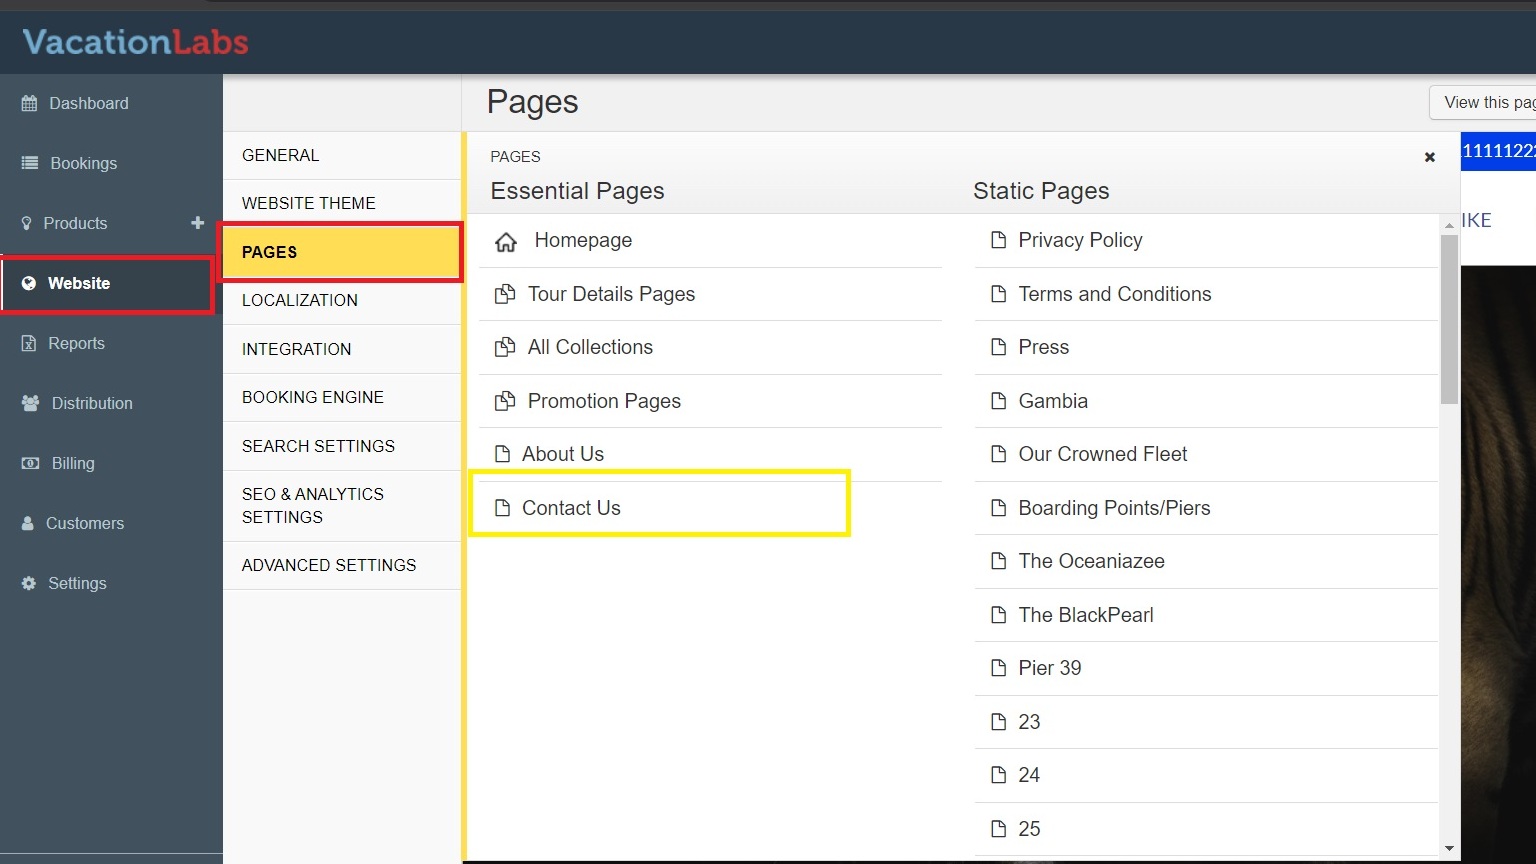
Navigate to Website > Pages Section > Click on the Page on which you want to add a contact us form (in this instance we want to add it to the contact us page - refer screenshot below)
-
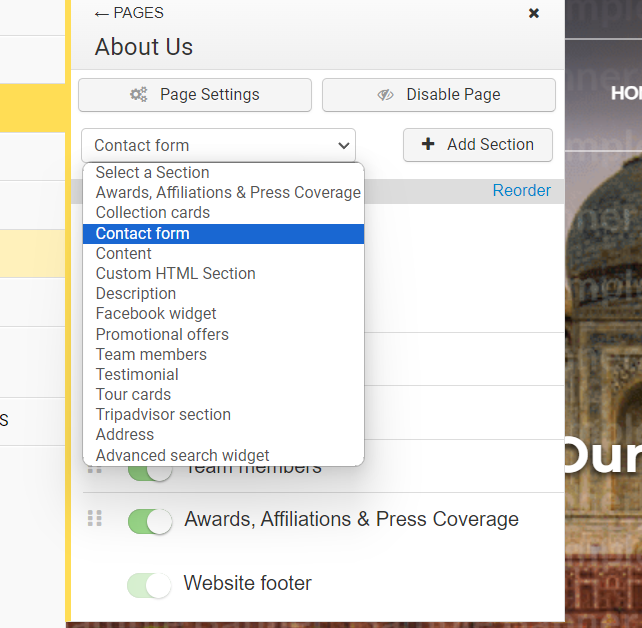
Click on the Select a section and a dropdown will appear, in the dropdown list select Contact Form and then click on + Add Section (refer screenshot below)
-
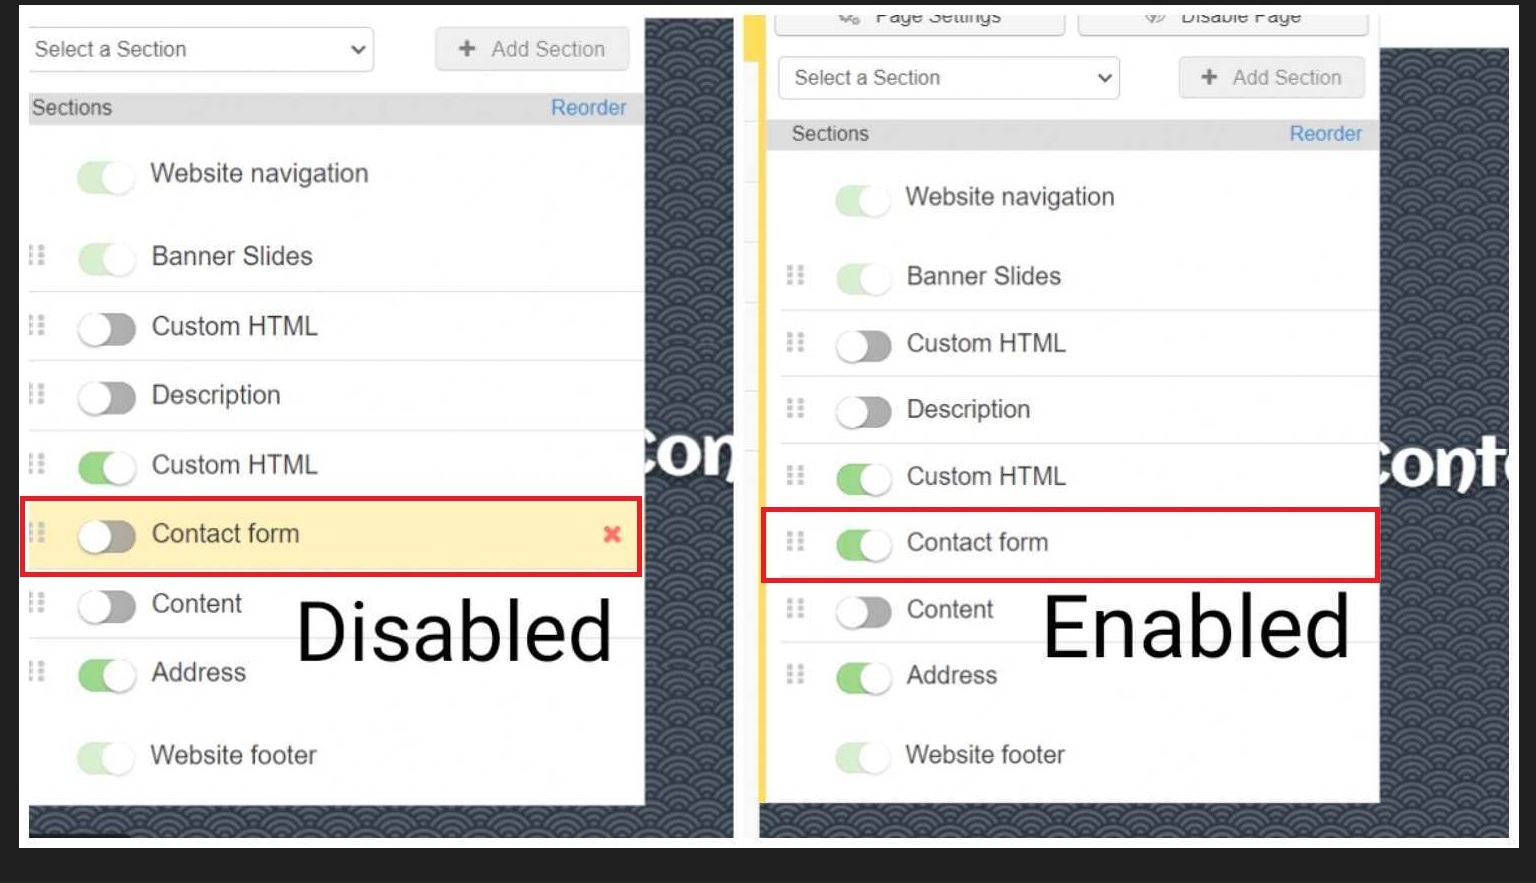
The section will be disabled by default, please toggle the button to green to enable it (refer screenshots below for reference)
-
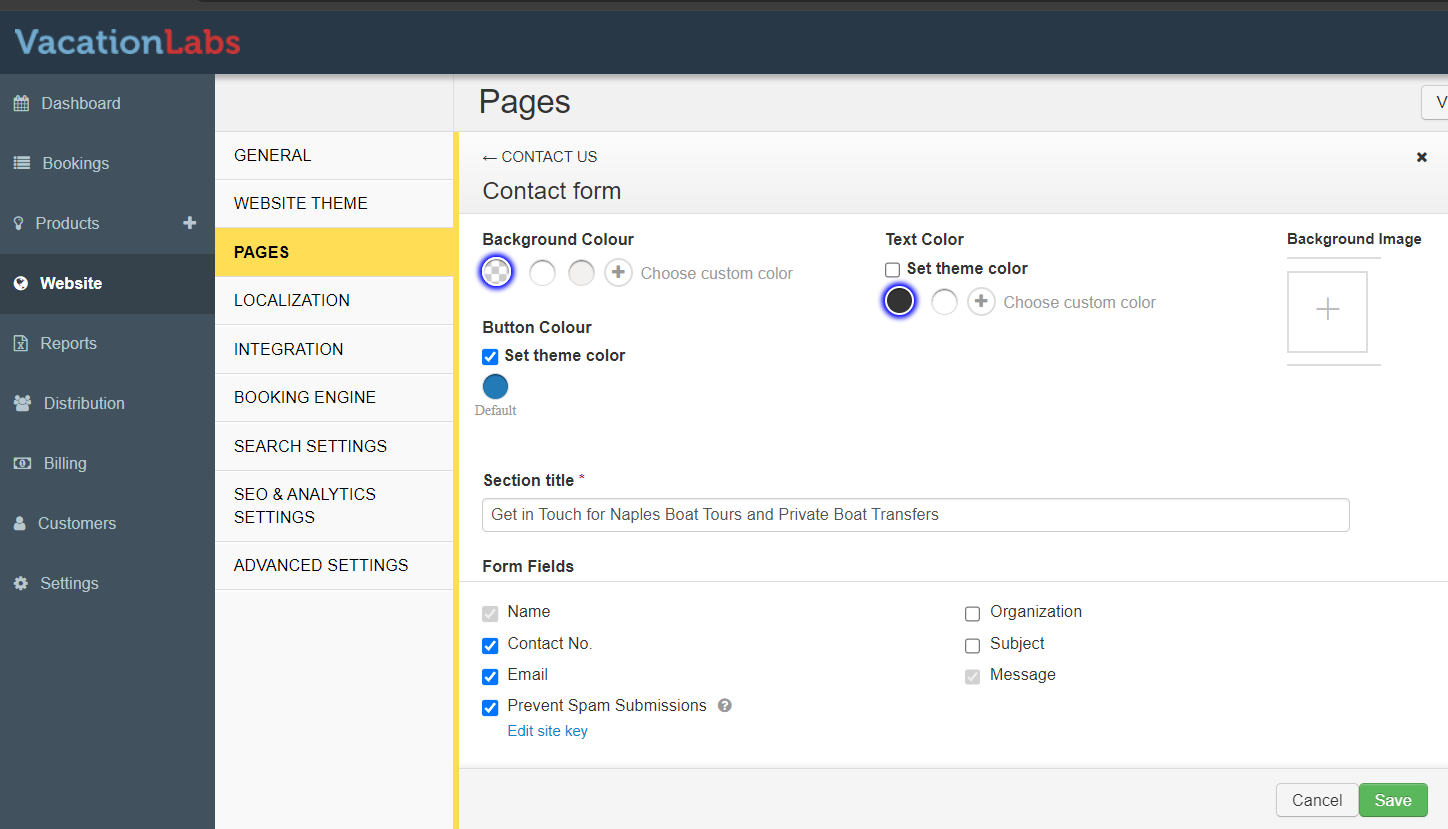
Click on the Contact Form section to access it and customize it to your liking (refer screenshot below)
-
SAVE the changes your have made.
Configuring Captcha for Contact Form
The Contact Form won’t work unless captcha is configured. Captch is a technology to prevent bot/spam submissions. Please follow these steps to enable Captcha on the Contact us form:
-
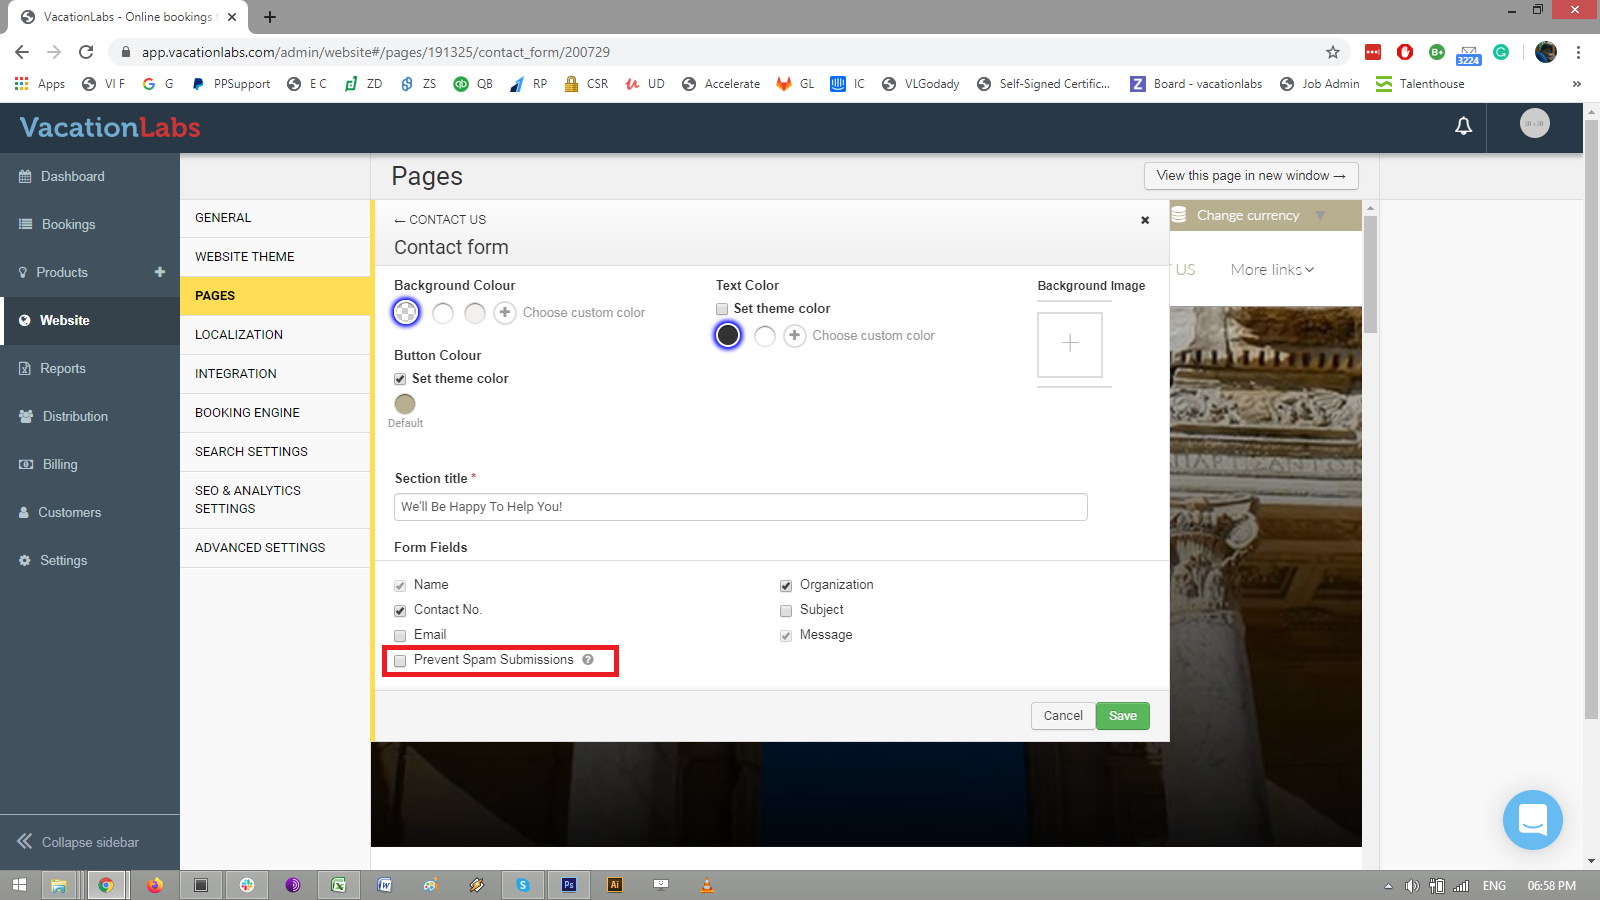
Go to WEBSITE > PAGES > CONTACT US > choose CONTACT FORM
-
Click on the check box tiled **Prevent spam submissions **
-
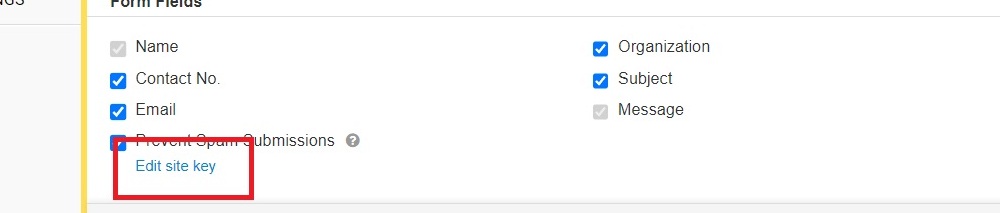
After checking the box, a new text will appear Edit site key (click on it and a pop up will appear)
-
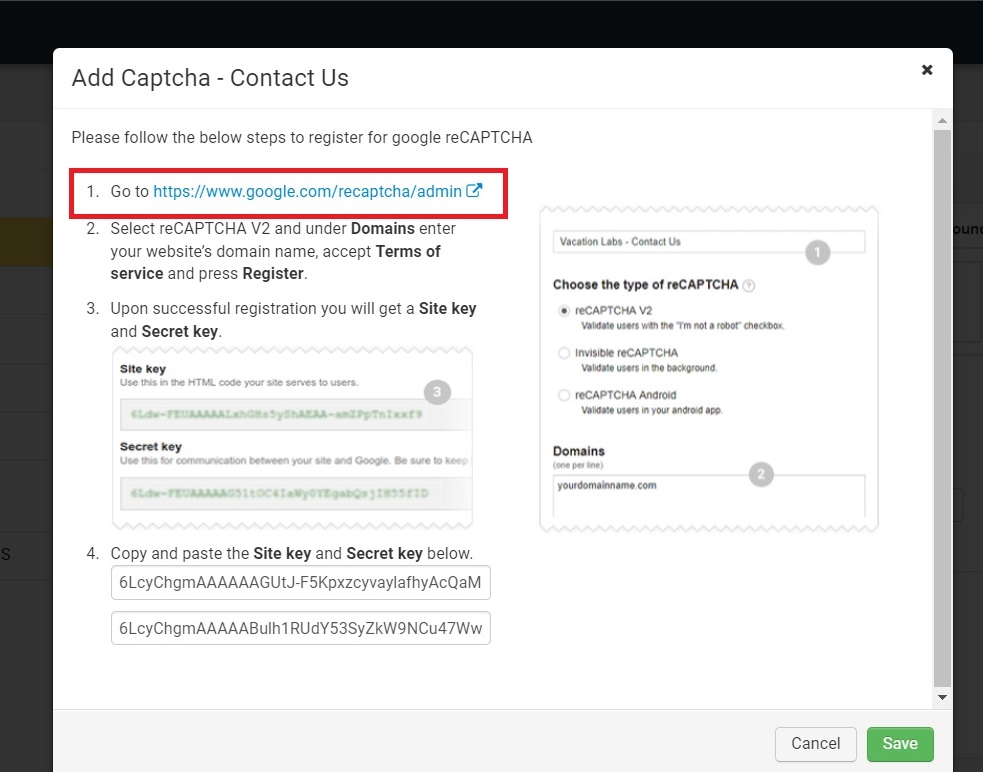
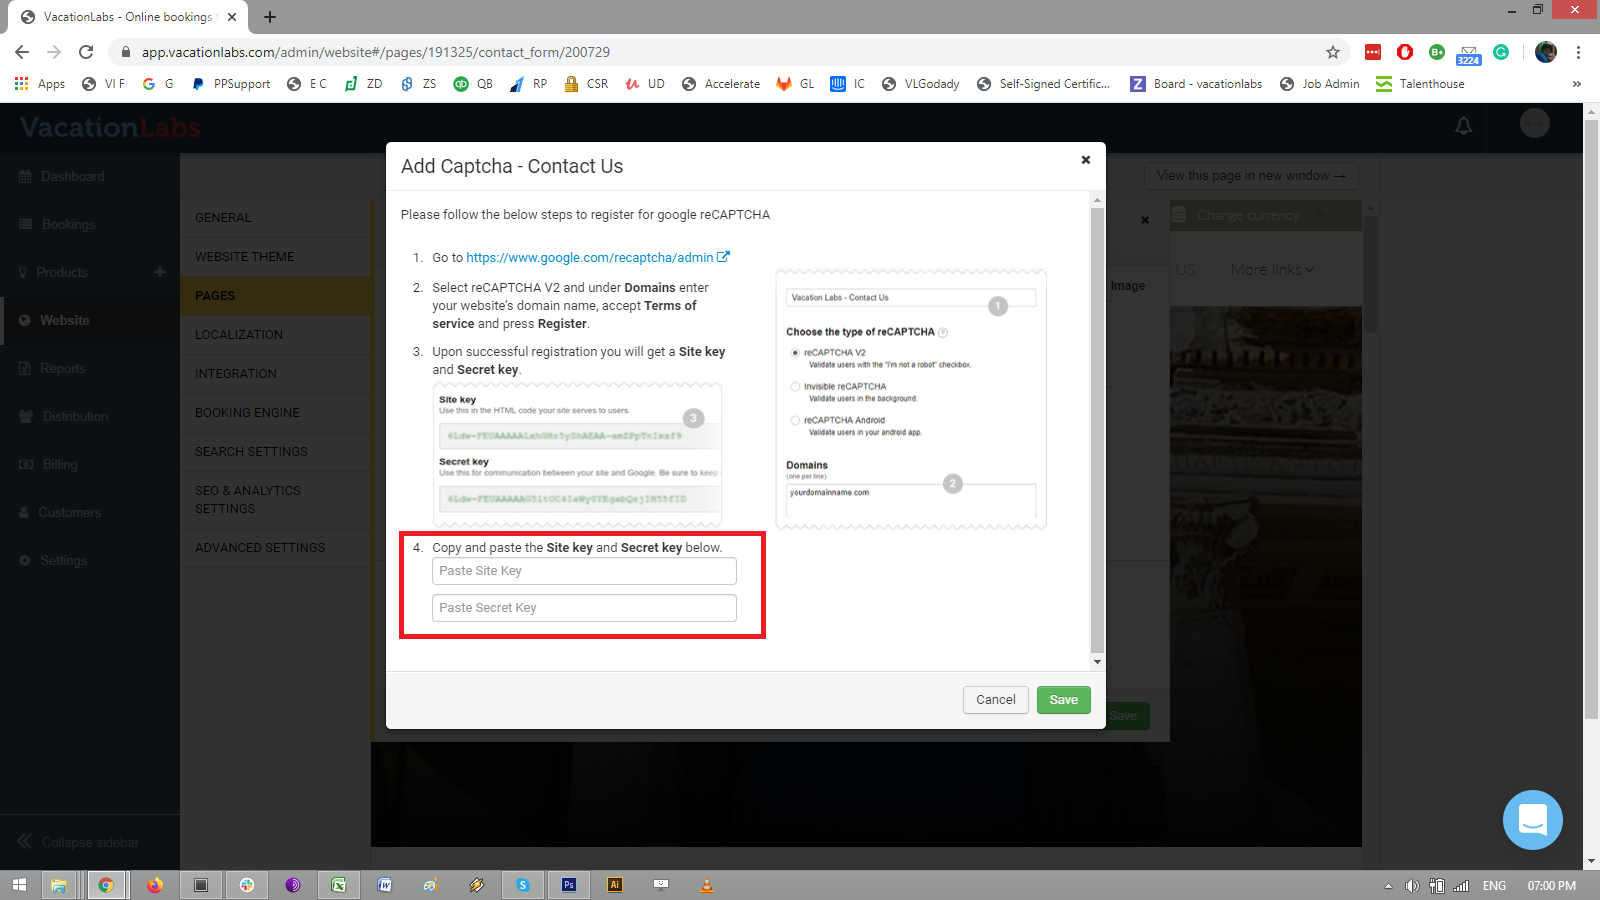
Go to https://www.google.com/recaptcha/admin (refer screenshot below)
-
Select reCAPTCHA V2 and under Domains enter your website’s domain name, accept Terms of service and press Register.

-
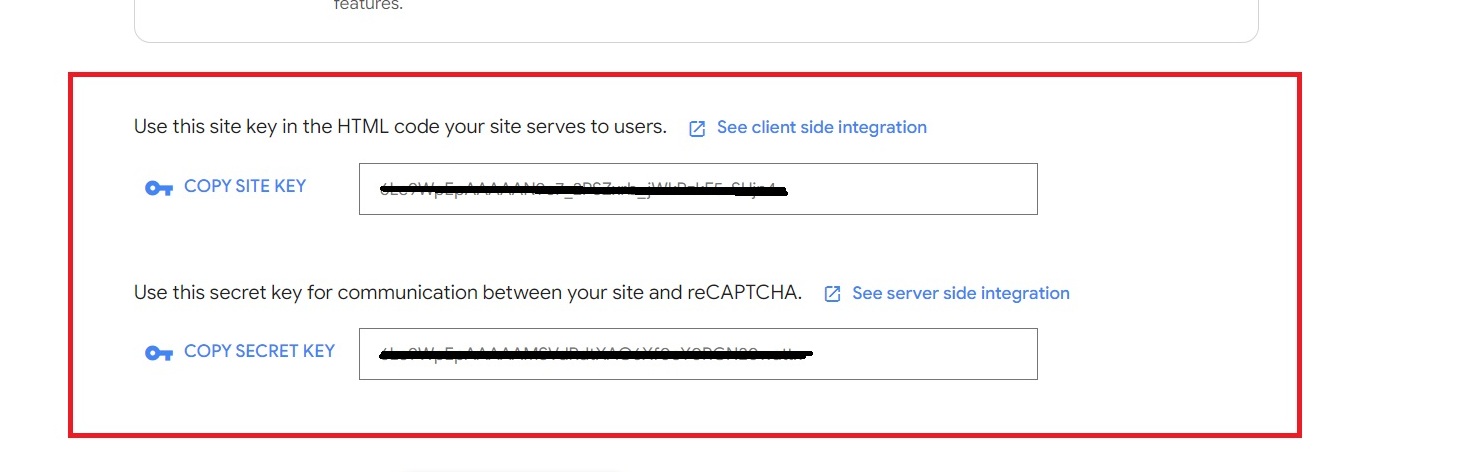
Upon successful registration you will get a Site key and Secret key.
-
Copy and paste the Site key and Secret key in the fields highlighted in the screenshot below:
-
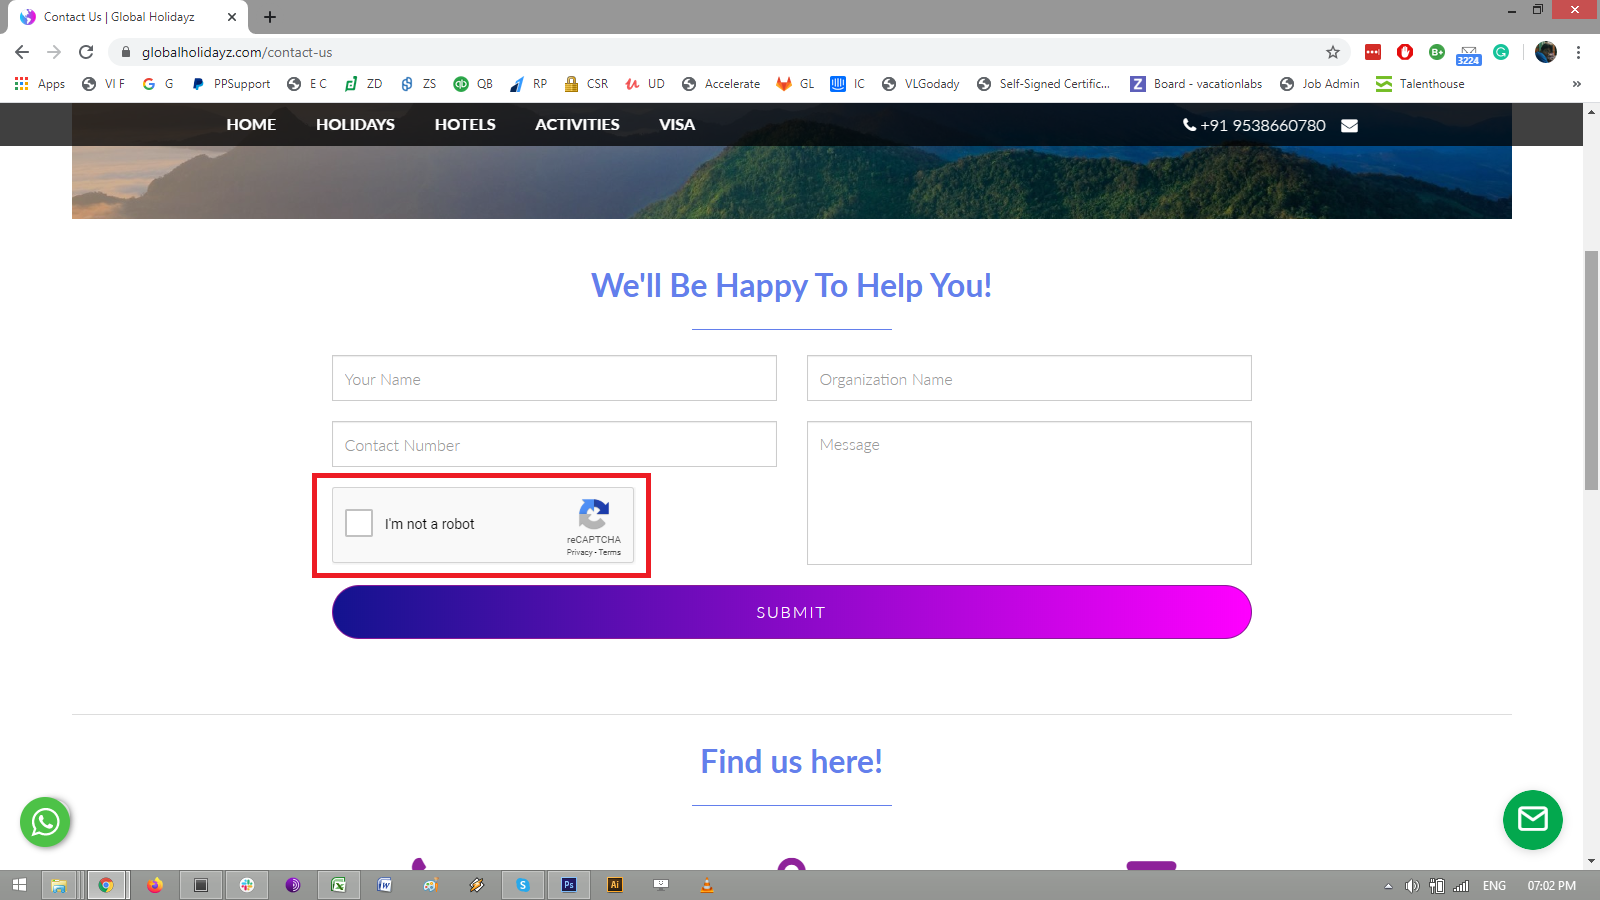
Once you SAVE it, check on the Contact form and in a few minutes you will be able to see checkbox Captcha enabled on the form.
Checking the Contact Form
-
Open your storefront/website and go the Contact Us page (or the specific page on which you configured the contact form) (refer screenshot below)
-
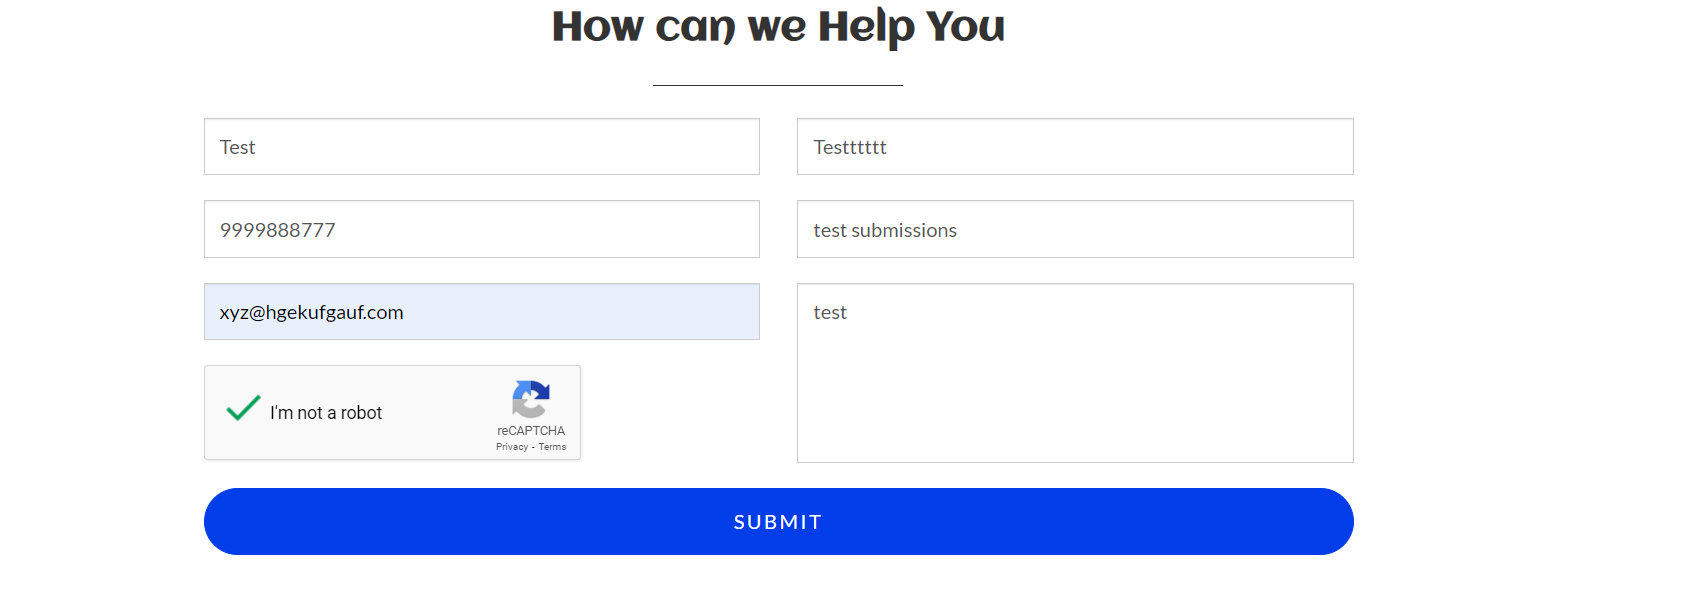
Add the details and click on SUBMIT and you will get a confirmation of submissions (refer screenshot below)
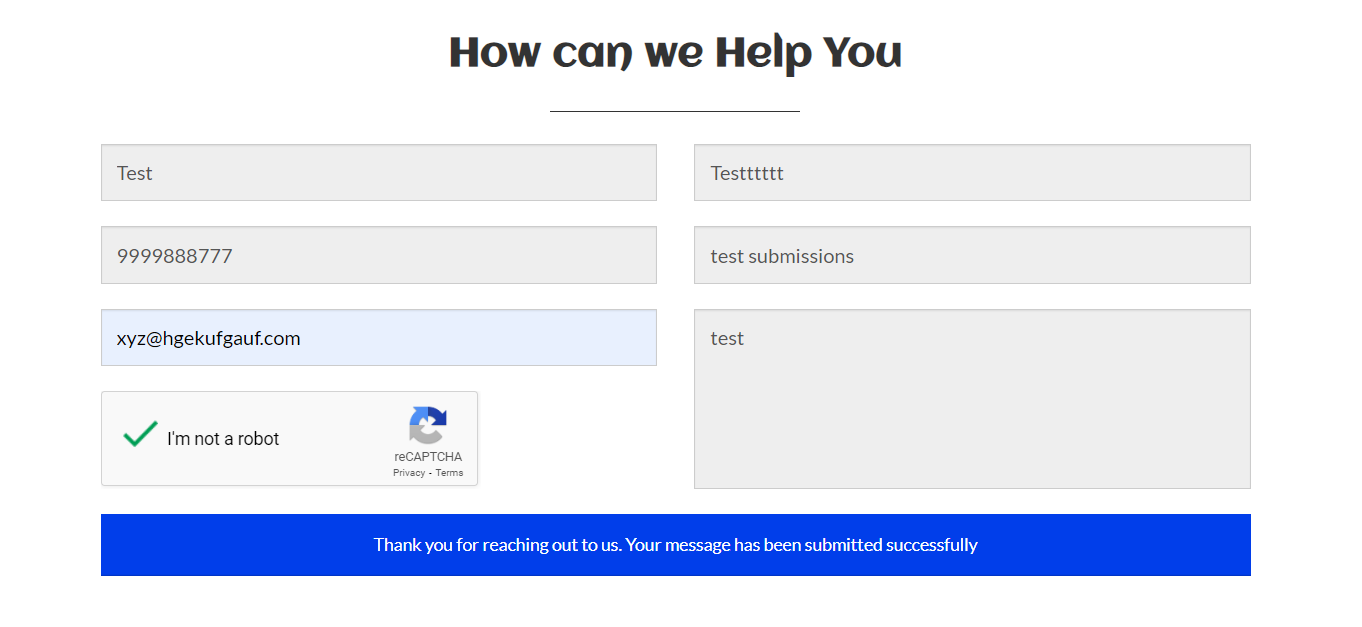
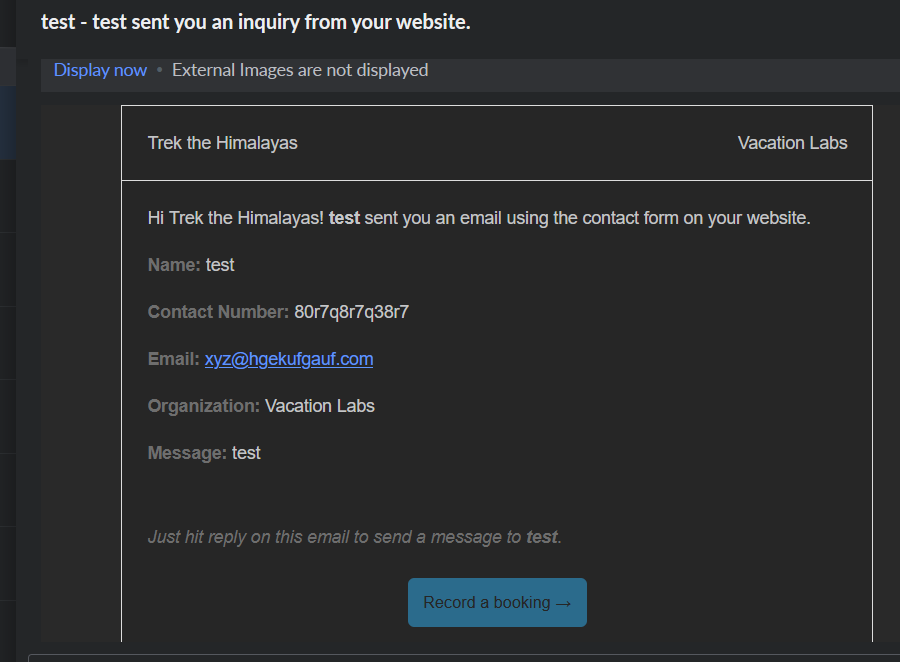
-
Check if the mail/submission has arrived in your mail inbox (it should appear like the screenshot below)